Installing a fence for the first time can feel overwhelming. There are measurements to get right, rules to follow, and steps that must be done in the correct order. This guide explains the fence installation process clearly, step by step, so beginners, intermediate users, and business owners know exactly what to expect and how to avoid costly mistakes.
Fence installation involves planning the layout, checking local rules, marking boundaries, digging post holes, setting posts securely, attaching rails or panels, and finishing with gates and final checks. When each step is done properly, the fence stays straight, strong, and durable for many years.
What does fence installation actually involve?
Fence installation is more than placing panels in the ground. It is a structured process that ensures strength, alignment, and long-term stability.
From real-world experience, most fence failures happen because early steps were rushed, not because of poor materials.
Fence installation includes:
- Measuring and confirming boundaries
- Preparing the ground
- Setting posts at the correct depth
- Keeping lines straight and level
- Securing panels, boards, or wire properly
Each step builds on the previous one.
Why is planning important before installing a fence?
Planning helps you avoid legal issues, uneven fences, and wasted money.
I have seen fences removed simply because property lines were not checked first. That mistake is expensive and frustrating.
Good planning helps you:
- Stay within your property boundary
- Choose the right fence for your purpose
- Estimate costs accurately
- Reduce delays during installation
How do you plan a fence installation step by step?
Start by answering these questions:
- Why do you need the fence?
- Where will it be installed?
- How tall and long should it be?
- Which material fits your budget and climate?
Then:
- Check local council or authority rules
- Contact utility services to mark underground lines
- Sketch the fence layout on paper
Clear planning saves time during installation.
What are the common fence types used today?
Different fence types use the same basic installation process, but spacing and fixings may vary.
Common options include:
- Wood fences for privacy
- Vinyl fences for low maintenance
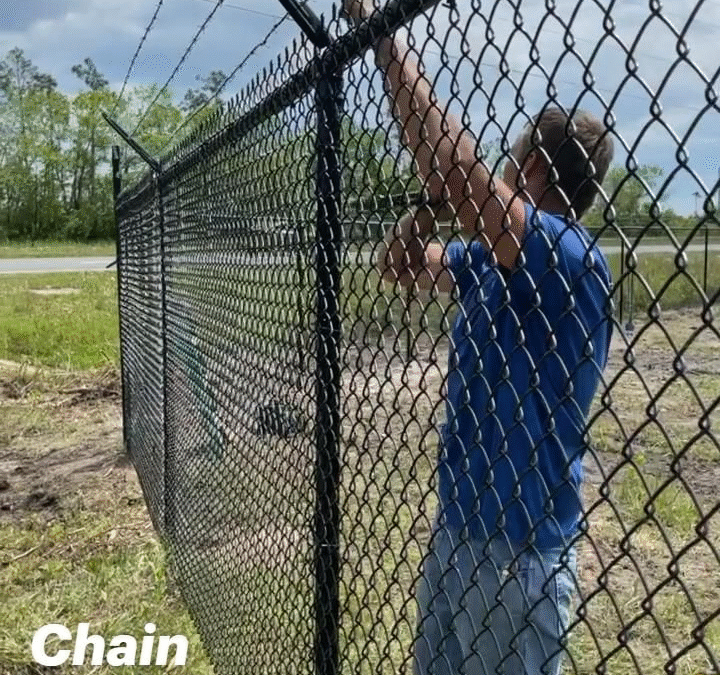
- Chain link fences for security
- Metal fences for strength
- Composite fences for durability
Choose the fence type before measuring or buying materials.
How do you prepare the ground for fence installation?
Ground preparation sets the foundation for the entire fence.
Before digging:
- Clear plants, roots, and debris
- Remove rocks near post locations
- Level the surface as much as possible
For sloped areas:
- Decide between stepped or racked fencing
- Mark height changes clearly
Uneven ground is a common cause of alignment problems.
How do you mark the fence layout correctly?
Accurate layout marking keeps the fence straight.
You will need:
- Stakes
- String line
- Measuring tape
- Marking spray or chalk
Steps:
- Place stakes at corners
- Run string tightly between stakes
- Measure and mark post spacing
- Double-check alignment before digging
A straight string line is your reference throughout the job.
How deep should fence post holes be?
Post depth is critical for stability.
General rule:
- Post depth should be one third of the post height above ground
- Minimum depth is usually about 60 cm or 2 feet
For example:
- A 6-foot fence needs posts set about 2 feet deep
Deeper holes are needed in loose soil or windy areas.
How do you set fence posts properly?
Setting posts correctly determines how long the fence will last.
Step-by-step:
- Place the post in the hole
- Check it is straight with a level
- Add gravel at the bottom for drainage
- Pour concrete around the post
- Recheck alignment before concrete sets
- Allow the concrete to cure fully
Never rush this step. Post movement causes long-term problems.
Should you use concrete for fence posts?
For permanent fence installation, concrete is recommended.
Concrete:
- Adds strength
- Reduces movement
- Increases fence lifespan
Light or temporary fences may not require concrete, but most residential fences do.
How long should concrete cure before continuing?
Curing time matters.
General guidance:
- Light work after 24 hours
- Full strength after 48 to 72 hours
Cold or wet weather may require extra curing time.
How are rails and panels installed?
Once posts are secure, the structure comes together.
For panel or board fences:
- Attach horizontal rails to posts
- Fix panels or boards to rails
- Use spacers to keep gaps even
For chain link fences:
- Install top rails
- Stretch the mesh tightly
- Secure with tension bands
Check alignment frequently as you work.
How do you install a fence on sloped ground?
Sloped ground requires extra planning.
Two methods:
- Stepped fencing, panels stay level and step down
- Racked fencing, panels follow the slope
Choose the method based on slope angle and fence style.
How are gates installed during fence installation?
Gates need stronger support than regular panels.
Best practice:
- Use thicker gate posts
- Set posts deeper with extra concrete
- Measure gate openings carefully
Gate sag is usually caused by weak posts, not hinges.
What final checks should be done after installation?
Before finishing:
- Check posts are straight
- Test gate movement and latches
- Tighten loose fasteners
- Clean excess concrete
- Inspect overall alignment
Small checks improve appearance and function.
When is the best time to install a fence?
Weather affects installation quality.
Best conditions:
- Dry ground
- Mild temperatures
Avoid:
- Frozen soil
- Heavy rain
- Extreme heat
Spring and early autumn are usually ideal.
How long does fence installation usually take?
Time depends on fence size and complexity.
Typical timelines:
- Small fence, one to two days
- Medium residential fence, two to three days
- Large projects, several days
Rushing often leads to mistakes.
What mistakes should beginners avoid?
Common mistakes include:
- Skipping boundary checks
- Digging shallow holes
- Ignoring level checks
- Installing panels too soon
- Using the wrong fixings
Doing it right the first time saves money.
How much does fence installation usually cost?
Costs vary based on:
- Fence material
- Length and height
- Ground conditions
- DIY or professional labour
Always budget for unexpected ground issues.
Fence Installation FAQ
What is the correct spacing between fence posts?
Most fences use spacing between 6 and 8 feet. Always follow manufacturer guidance.
Can I install a fence by myself?
Yes for small fences, but larger projects are easier with help.
Do I need permission before installing a fence?
Many areas require approval for height and placement. Always check local rules.
How long does a properly installed fence last?
With correct installation, most fences last 15 to 25 years.
What fence type is best for privacy?
Solid wood, vinyl panels, and composite fences provide strong privacy.
How do I maintain a fence after installation?
Inspect yearly, tighten fixings, clean surfaces, and repair early signs of damage.
Final summary
Fence installation works best when each step is done carefully and in order. Proper planning, correct post depth, solid concrete setting, and regular alignment checks make a long-lasting fence.
If you are planning a fence, take time with the early steps or consult a professional who follows this process. A well-installed fence saves time, money, and stress over the long run.